Angled iron icosahedron-based dome
This page uses photographs to show a step by step assembly of a 3 frequency Icosahedron based Dome made of angled iron. The dome was put up by architecture students from all over North India and a supervising team from Vigyan Ashram, Pabal Pune at IPS, Indore over two days time of 23rd and 24th September 2011.
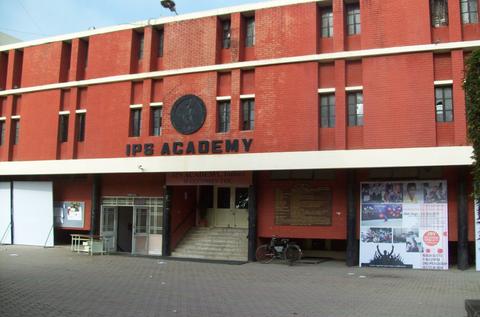
Venue of Dome Raising
The Invitation
The students invitation to Vigyan Ashram, Pabal Pune:
We the students body of School of Architecture, IPS Academy, Indore are hosting the Zonal NASA Convention 2011 on 23rd, 24th and 25th September 2011. We came to know about the practical training programme that you provide regarding the "GEODESIC DOME". -- Gunjan Badjatya, Convenor, NASA Zone -2, Zonal NASA 2011, IPSA, Indore
Vigyan Ashram accepted this invitation and sent a team of 3 persons to Indore. The two people who were experienced in raising domes were Arvind Gosavi and Kasim Bhai. A person with some theoretical knowledge of Geodesic domes and their mathematics was Ashok Mathur.
ISP Academy Indore
ISP Academy Indore has a beautiful campus. They had chosen space between classrooms to set up the dome on a temporary basis.
 ISP Academy Indore
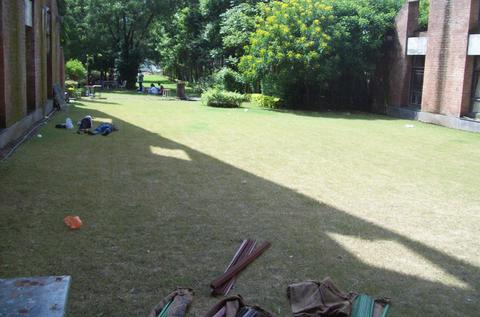 Site of dome construction
We often brought to the students notice that one of the advantage of a geodesic dome is that it does not need a foundation, being one of the few such structures. The students could not think up of a second structure that does not need a foundation!
Dome Design Chosen
As 3-frequency Icosahedron domes are the highest category of geodesic domes that get built, Vigyan Ashram chose to teach how to build such a dome.Such a dome requires struts of 3 lengths as well as two types of hubs, one with pentagonal hole pattern and the second with hexagonal pattern of holes.The struts and hubs were pre-fabricated at Vigyan Ashram and then shipped to Indore.It is very easy to assemble the dome if both the hubs and struts are color coded so that a strut of the same color is attached to a set of holes in the hub of the same color.
Strut length and Hub calculations
There are many good ready reckoner available for calculating these dimensions. Only one parameter has to be feed, i.e. the radius of the desired dome and all the calculations are spit out. A simple but effective calculator can be found at http://www.desertdomes.com/dome3calc.html
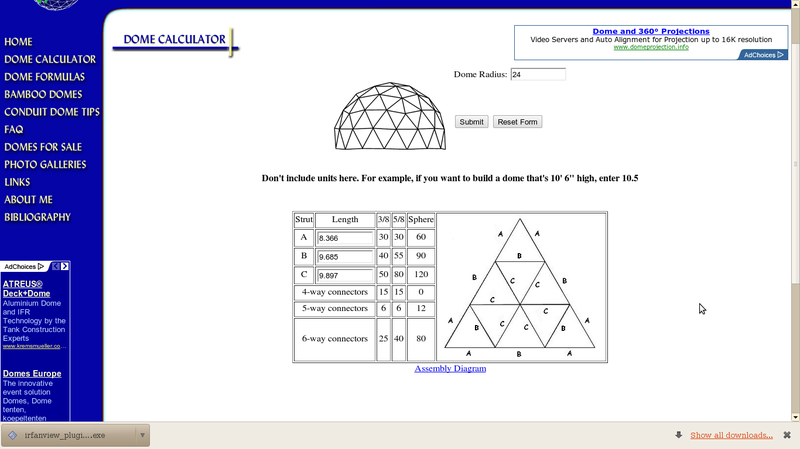
More sophisticated calculators for more complex domes can be found at http://www.domerama.com/calculators/. The mathematics of design of domes in general can be learnt from either Hugh Kenners' excellent book 'Geodesic maths and how to use it" or from papers on internet by others.
Pre- Fabrication Work at Vigyan Ashram
Dome Radius and Design
Once a radius for a dome has been decided and the radius has been entered into a ready reckoner, a complete bill of material is readied by the ready reckoner. However, this process hides a decision that domes with same parameters can still be put up in three different ways. Firstly a dome can have a vertex at top. Typically,in a 3 frequency icosahedron dome, the pentagonal vertex is chosen to be at the top. Secondly, a face can be at the top. That is an option often chosen when the dome is Octahedral in nature. Thirdly a dome can have a strut at the top. This is almost never chosen as it does not generate symmetries that can be exploited.
Dome struts
A 3-frequency icosahedral dome has struts of 3 different lengths. These lengths are called vertex to vertex lengths as they measure the distance between two adjacent vertices that lie on the same strut. They are a theoretical concept as when hubs at vertices are to be joined to the struts, they add some length of their own. Thus cut struts that are made of say angled iron, EMT pipes or bamboo are slightly smaller than vertex to vertex length. In a typical Vigyan Ashram designed dome, cut lengths are two inches shorter than the corresponding vertex to vertex length. Though the design is often thought about in terms of feet and inches, the actual measurements are rendered in centimeters and millimeters as accuracy up to millimeter is easy to achieve.
Three strut lengths
The three strut lengths are traditionally called A,B and C with A being the shortest and C being the longest. With unit radius of 1 of the dome, the vertex to vertex lengths of three struts are:
| Strut | Unit Length | Lengths for 12 foot radius dome(in centimeters) |
|---|---|---|
| A | 0.349 | 127.7 |
| B | 0.404 | 147.8 |
| C | 0.412 | 150.7 |
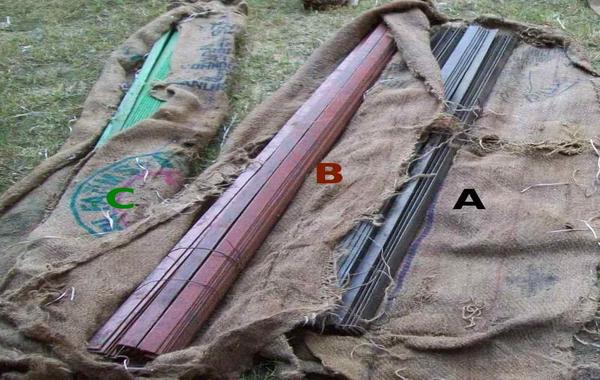 A, B, and C Struts pre-fabricated
Classes
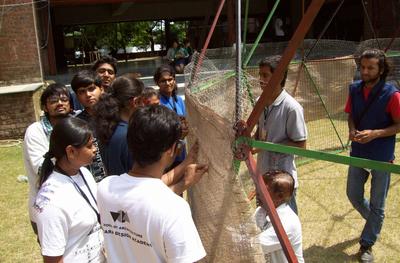
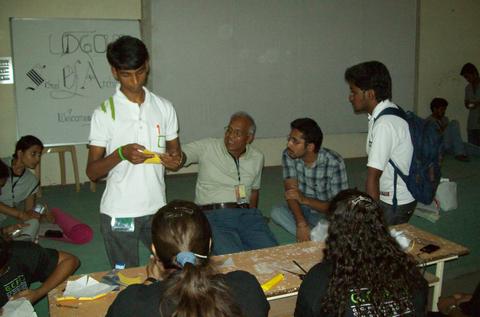
Before the students learnt how to assemble a dome, they were taught the theory of domes.
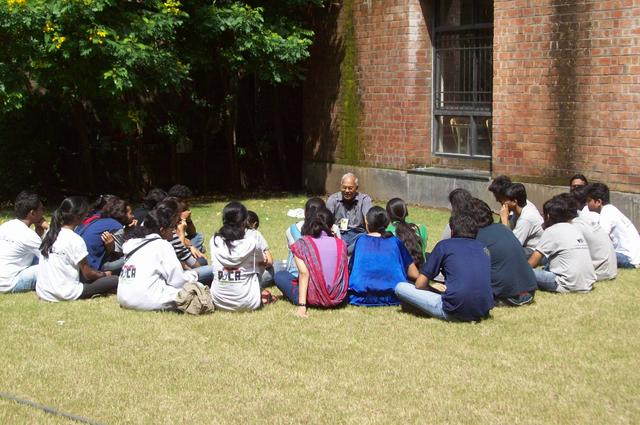 As classroom learning can be very boring, the first class was an impromptu class in the lawns of the academy.
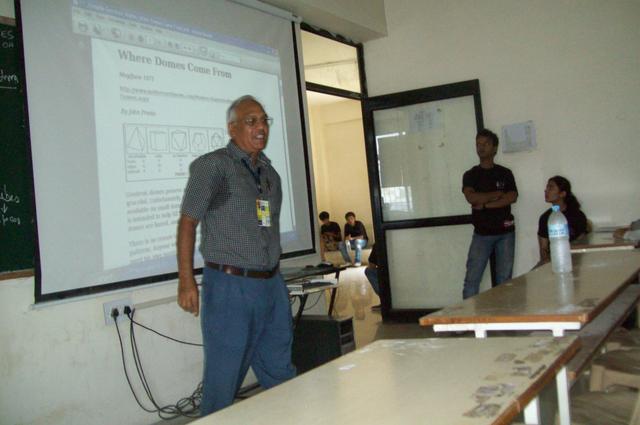 This was followed by boring formal class inside a conventional classroom.
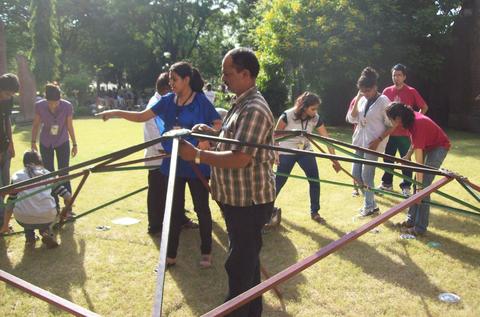
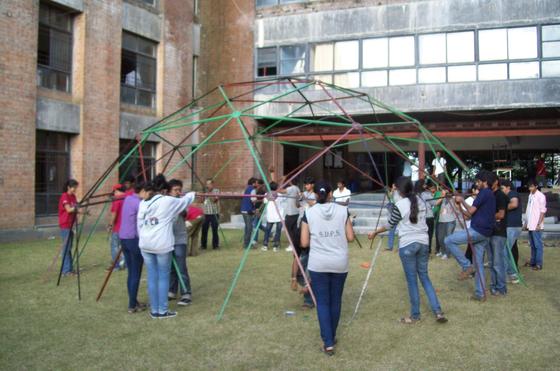
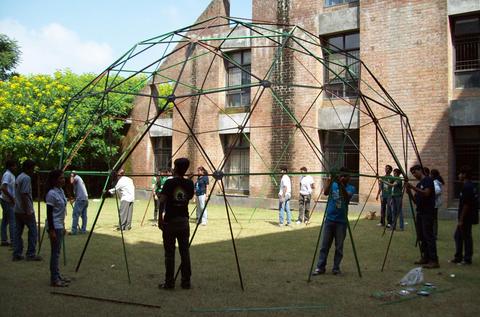
Early Assembly
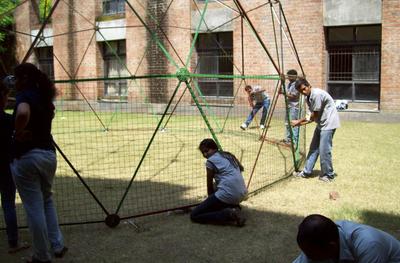
The work started in the afternoon. The early assembly works goes at a very fast pace. The central pentagonal hub gets five "A" black struts attached to it. At the other end of each strut, a hexagonal hub gets attached. Then these hubs are interconnected by a " B" strut, brown in color, (total five) completing a pentagonal ring that is 3 dimensional in nature with the central hub rising over the ring.
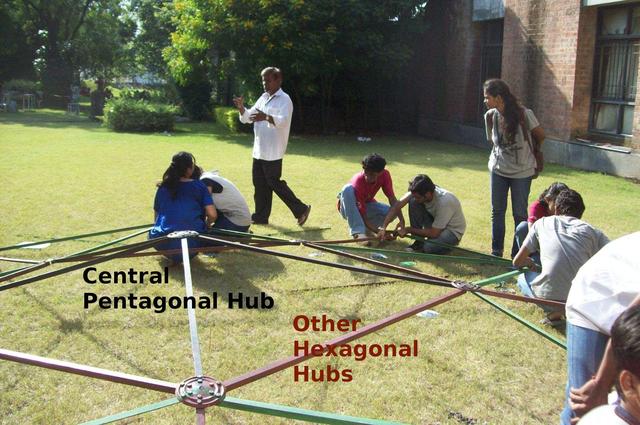 All the work is still being done at ground level.
The plan is to continue to work at ground level while the structure slowly rises.
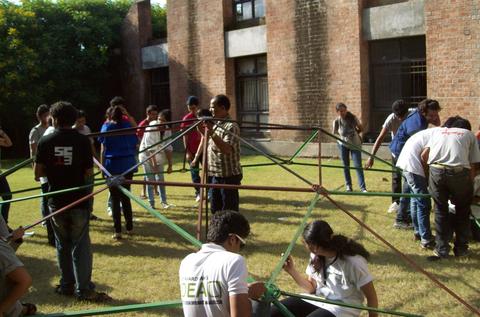
Progress
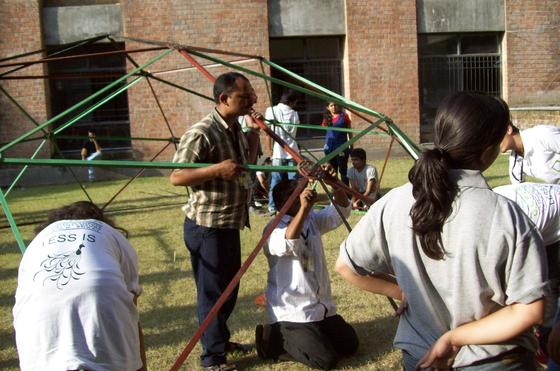
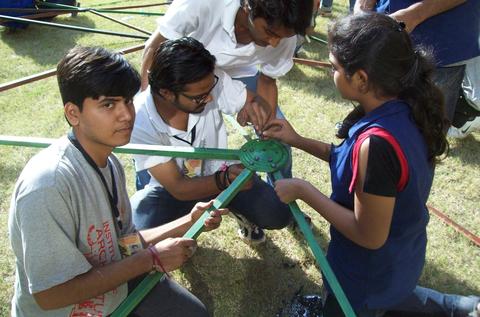 Students assembling a green " C" hub that takes 6 green struts.
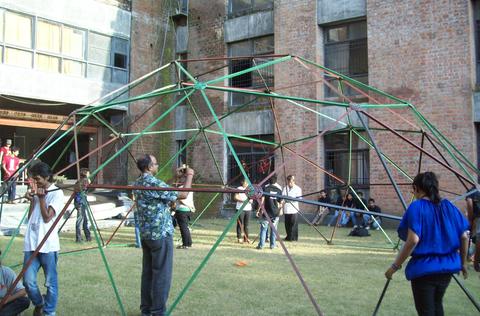
 Similar activity. In the background you can two mixed color hexagonal hubs that have one black, three brown and two green struts.
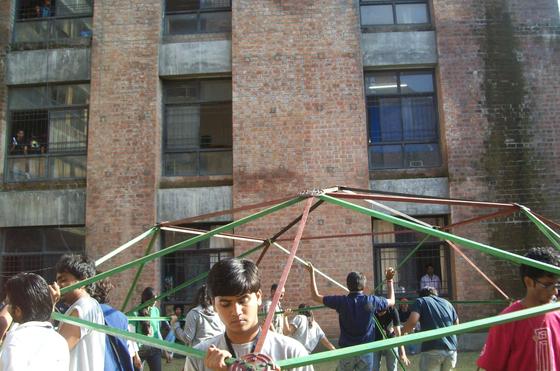
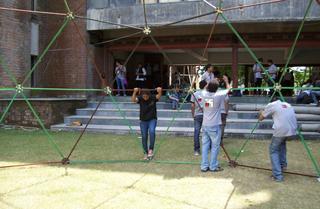
 The height of the structure is slowly rising.
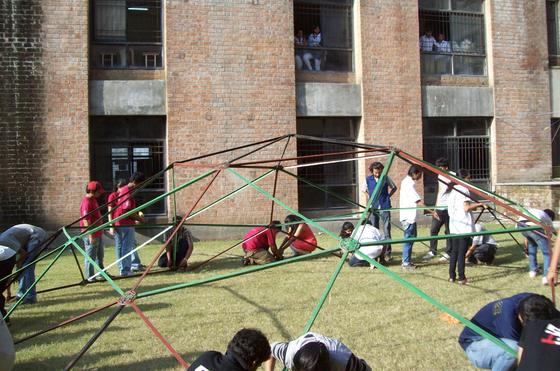
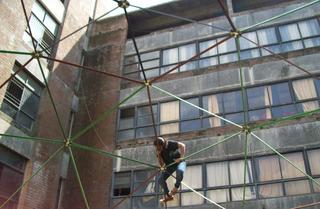
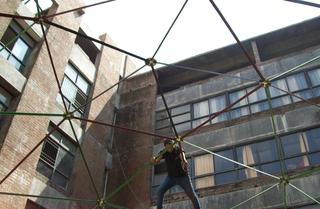
 The first completed ring is on the shoulders of Anand Gosavi. The second brown green ring has students working on it in the right hand side. The third ring is being worked in the fore ground.
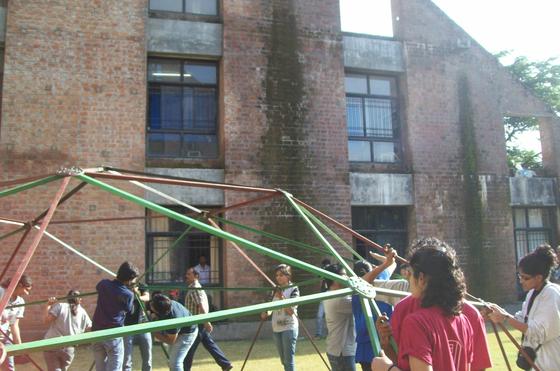
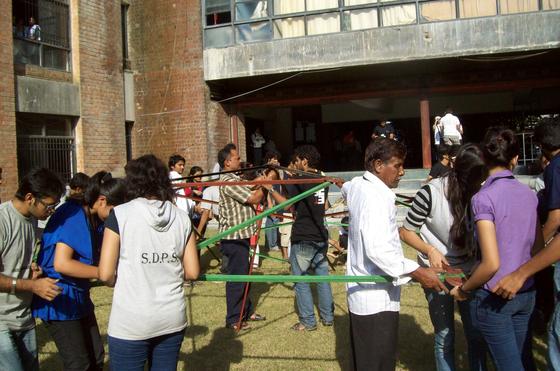 Even though the structure has just got over shoulder height, work is at a comfortable level. Kasim Bhai, the hub fabricator, is lending a hand in right for ground.
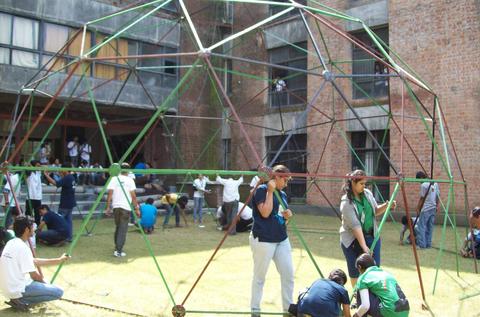
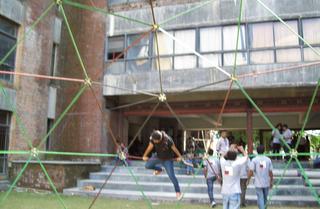
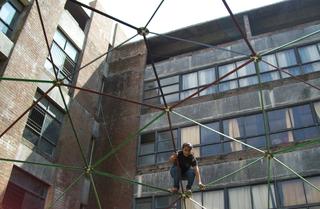
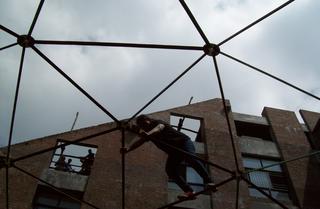
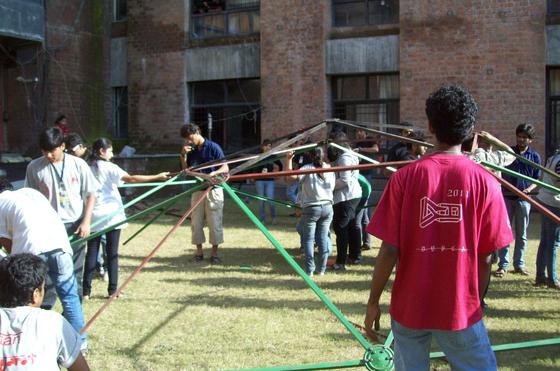 The height of the structure has crossed head height.
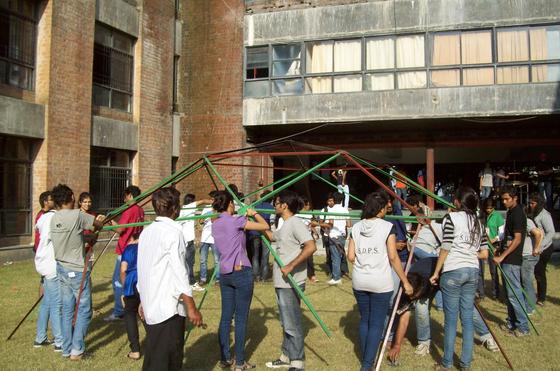
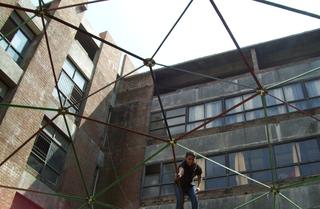
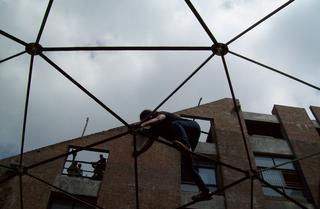
 Clearly way over head height. Note that only ordinary pliers and spanners are being used.
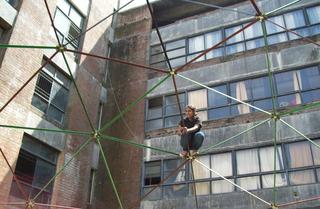
 Only when a ring has been completed and raised, is it tightened. It is always left a little loose till the very end.
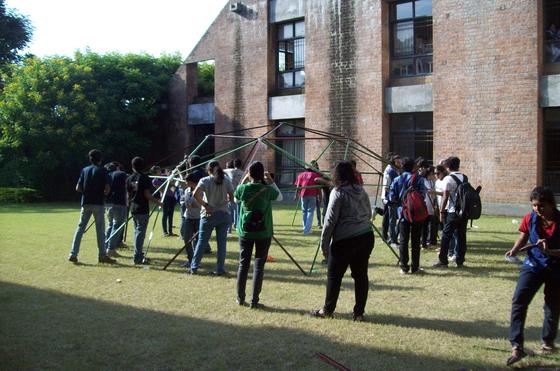
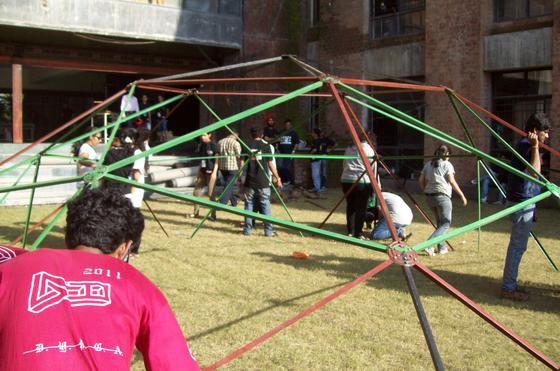
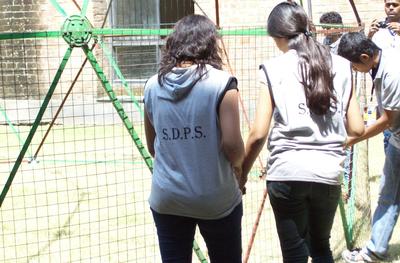
 Students from different colleges have a common tee shirt color.
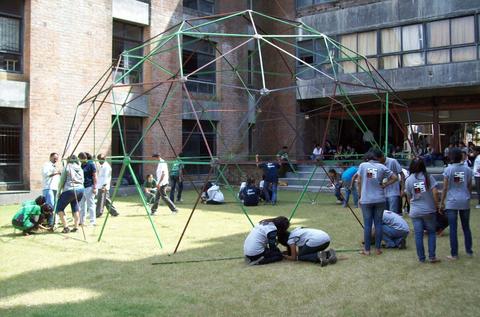
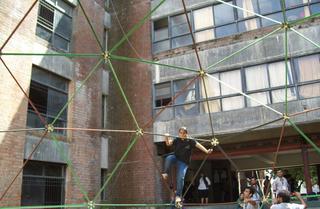
 Raising the dome at this stage calls for a planned maneuver. Two struts are placed at bottom hubs and all are raised simultaneously.
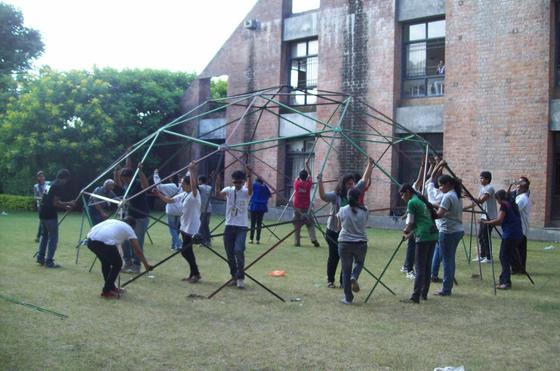 Cross struts being raised.
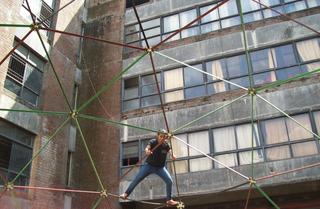
 Struts uncrossed
 Evening Shadows creeping.
 A practicing architect photographing students at work.
 End of one afternoon's work.
Day Two
 One more Cross strut maneuver has been executed
 Bottom row of struts and hubs being joined.
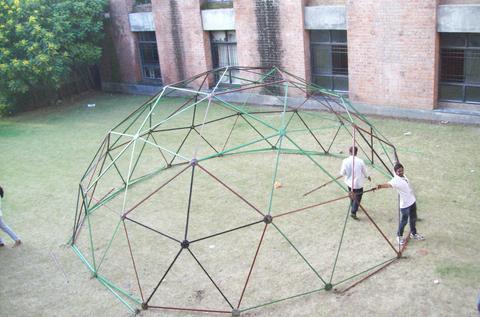
 Looks Good!
 Almost done.
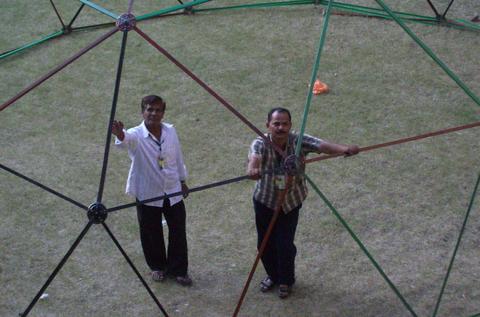
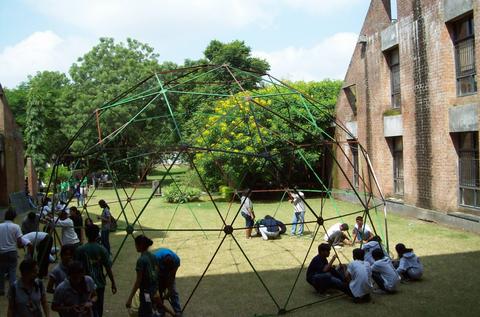
A Rocket Goes Up!

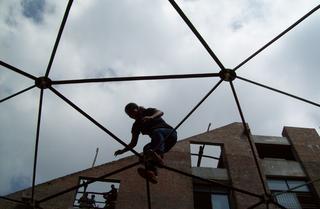
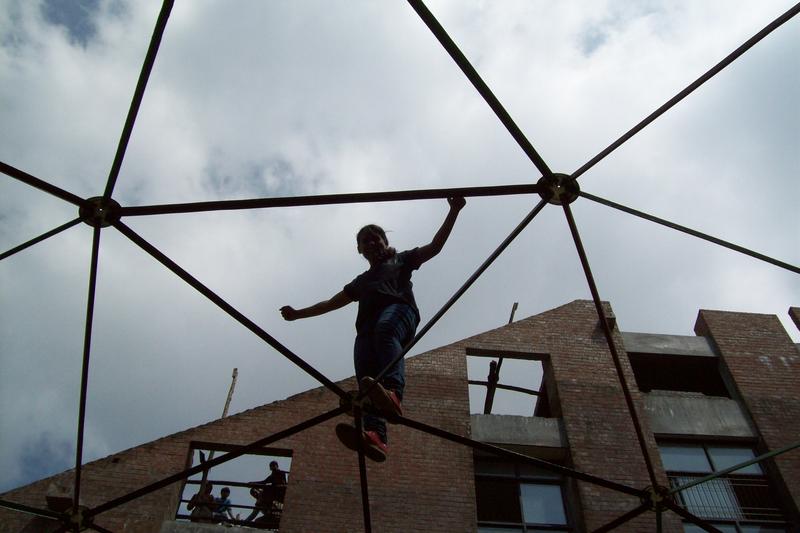 Because its there: Conquered!
Ferro Cementing
Geodesic domes are mostly fabricated in by two manners. methods. One is the hub-strut construction method that is illustrated here. As most work can be done in a simple work shop many domes are built this way with the owners and their friends providing much of the labor. The second method is panel construction where pre-fabricated panels are joined together in some way. The picture below is from the website http://www.madehow.com/Volume-6/Geodesic-Dome.html#b and illustrates that method. The panels are mostly pre-fabricated in a specialized factory that also offers its service for assembling the dome. Often cranes are used to place the panels in place.
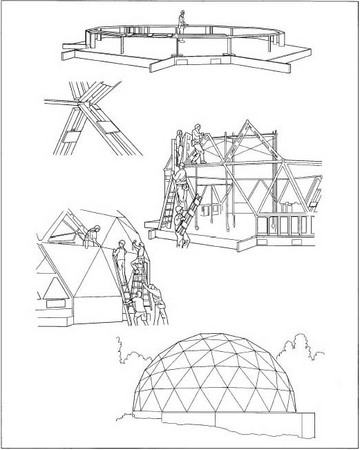 Building a geodesic dome.
There are other less frequently used techniques for making the dome.
Once the hub strut frame has been assembled, the question arises as to how to lay a skin on that frame work such that it turns into a usable structure. Typically, the skin costs are many multiples of the framework costs. Vigyan Ashram has found that a low cost solution, ferro-cementing, provides, a good solution. Paraphrasing the Wikipedia article on the subject:
The term ferro cement is most commonly applied to a mixture of Portland cement and sand applied over layers of woven or expanded steel mesh , such as chicken wire mesh that serves as a tensile element in the material.The term "ferrocement" was given to this product by its inventor in France, Joseph Monier . Ferro concrete has relatively good strength and resistance to impact. When used in house construction in developing countries, it can provide better resistance to fire, earthquake, and corrosion than traditional materials, such as wood, adobe and stone masonry.
Vigyan Ashram uses a square mesh and chicken wire as tensile members in the ferro-cement. It uses a jute sacking as a plaster base.
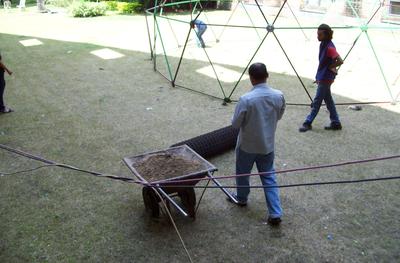 Sand awaiting its turn in a wheel barrow.
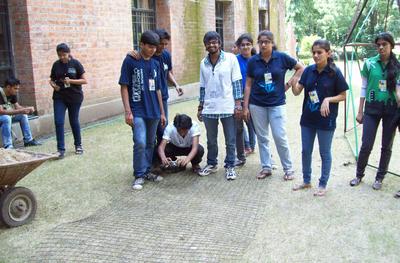 Square mesh being unrolled
 Mesh being stretched against the framework.
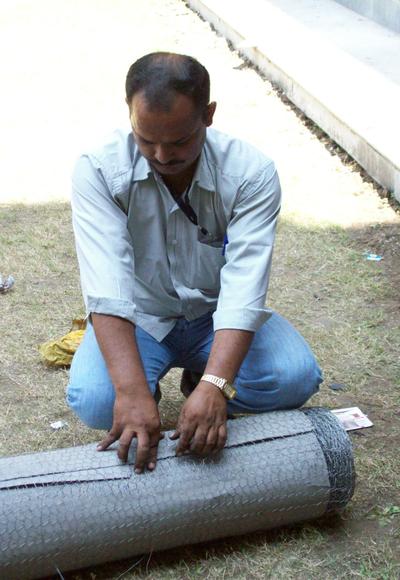 Anand opening Chicken wire mesh roll for stretching.
 Students stretching Jute Sacking over chicken wire mesh.
 Tie wires joining all the layers.
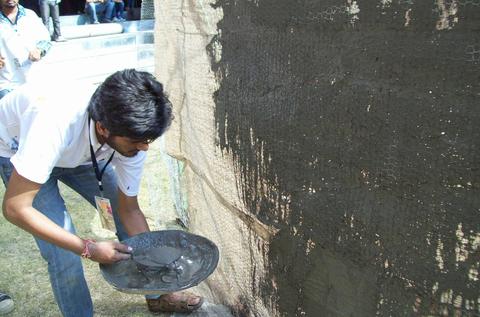
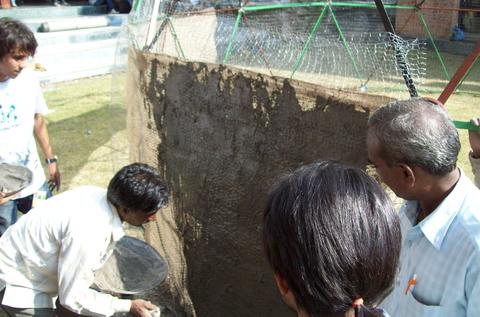
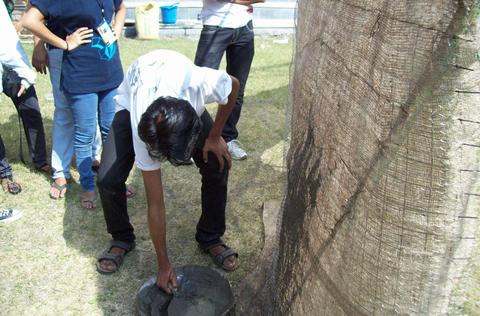 Sand and Cement mix being applied on the joined layer.
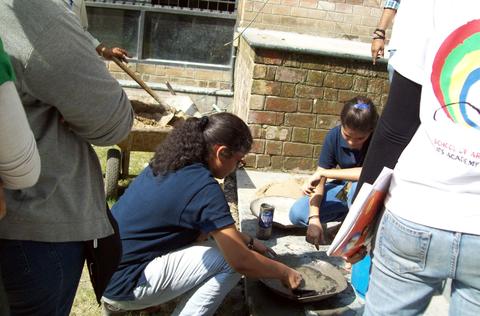 Fresh Supply being readied.
 Back Bending Work
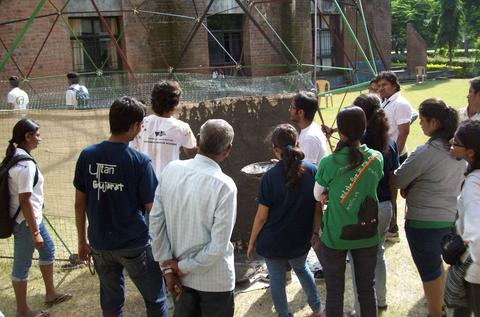
Ferrocement adds substantial weight to the dome. It was decided that full ferrocementing would be done only when the dome had shifted to its permanent position on the campus.
Model Making classes
The students had clearly benefited from hands on experience of making a 3 frequency icosahedron geodesic dome. A model making class sought to enlarge that experience.
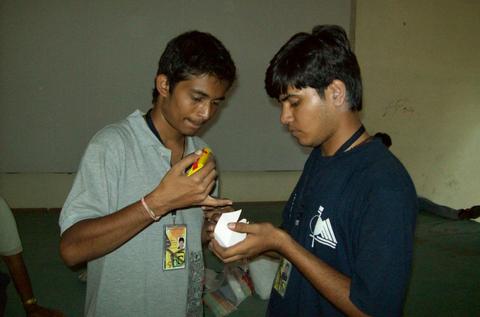
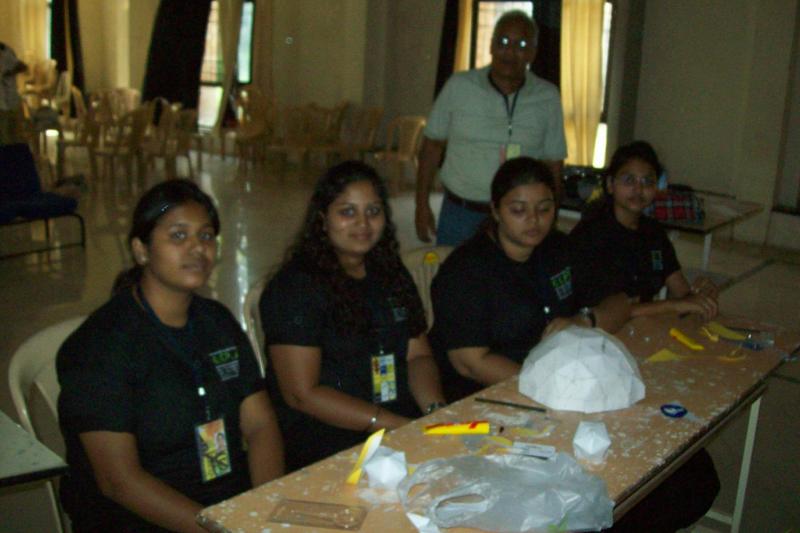
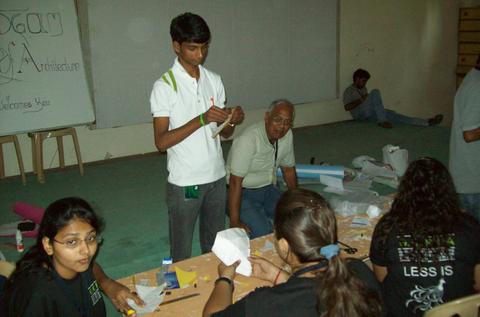 Students making a 3v icosa model
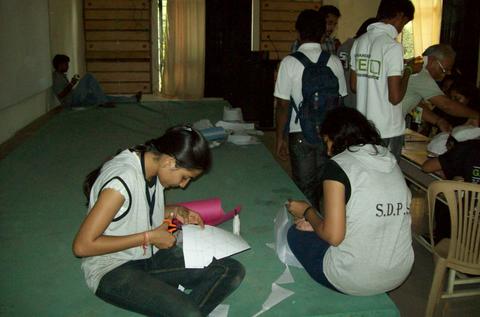
 Students working on "Fly Eye" model model
 3-frequency icosahedral dome completed in less than an hour.
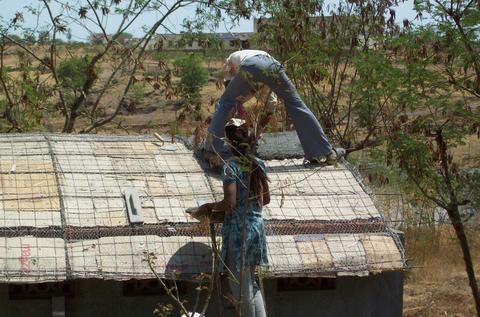
Ferro Cementing
As the ferro cementing activity at Indore had come to a halt before the dome could be completely covered, the photographs of the dome at Indore do not do justice to the art. A small room with an arched roof was ferro cemented at Vigyan Ashram recently in April 2012. These photographs show the activity in more detail.
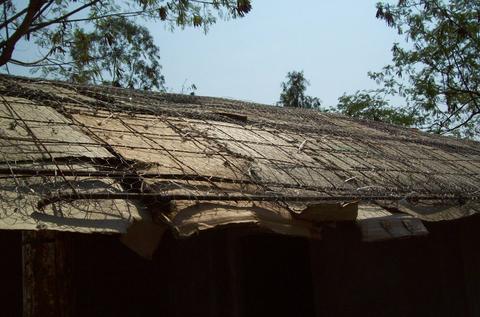
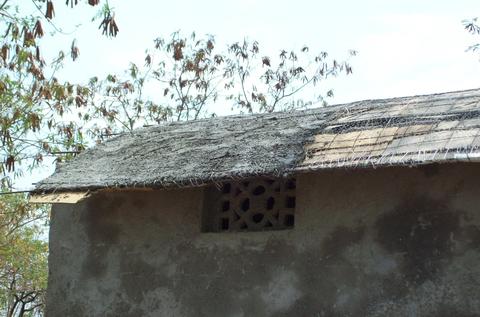
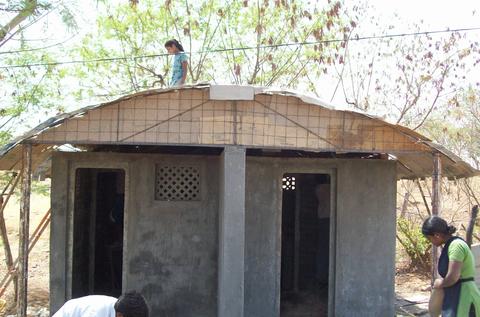 The arched roof awaiting ferro cementing
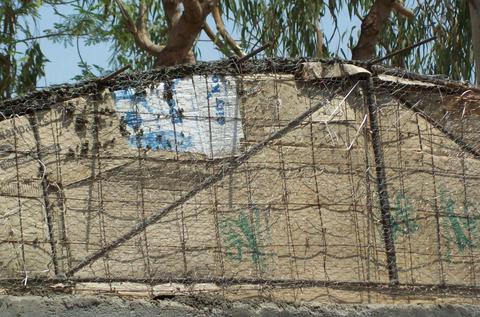
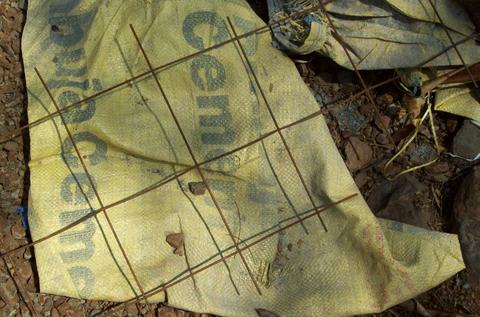 Four Inch Square mesh that is used in ferro cementing
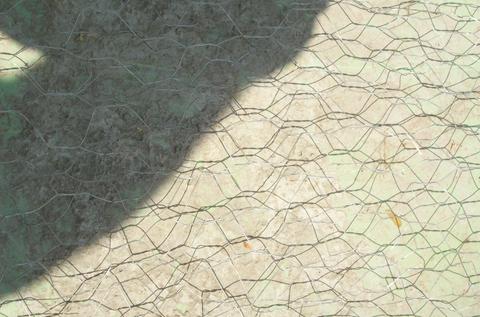 Chicken wire mesh that is used in ferro-cementing.
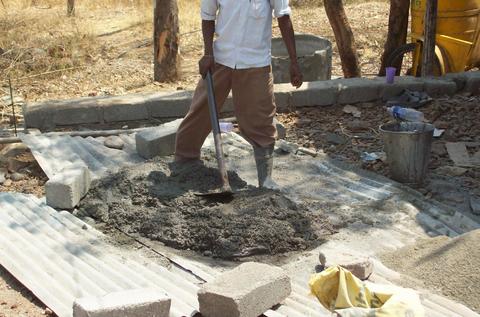 Cement and Gravel for ferro-cementing. Gravel consists of tiny pieces of rock that have about 0.3 to 0.4 cms sides. Cement and sand are in usual proportion.
In a geodesic dome the stretched hessian that is coated with a cement layer provides the base on which the main ferro cement layer is applied. In this arched roof, an alternative method has been used. Hessian has been replaced by cardboard. This cardboard will be thrown away after the roof has hardened.
 Side view of Cardboard underlay
 Top view of the underlay
 Cardboard Underlay seen from bottom
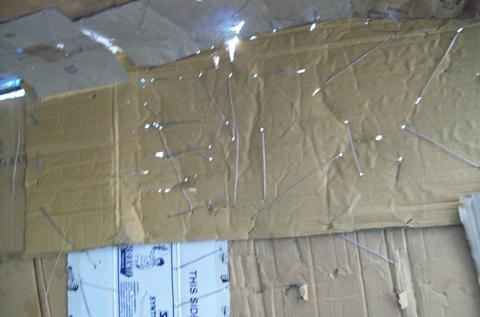 Cardboard Underlay another view from bottom
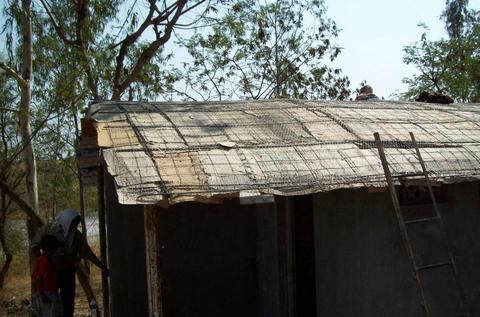 The full roof perspective
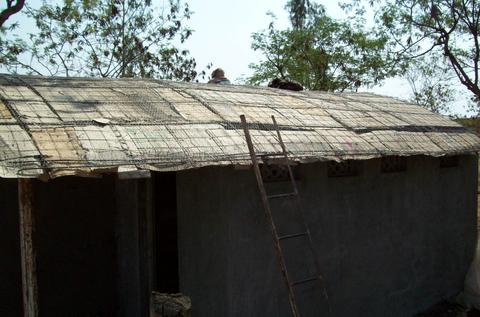 A little closer
 A still closer perspective showing how meshes are placed on the roof.
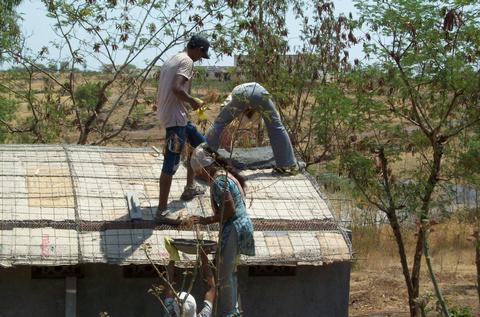 Hurray! It has begun!
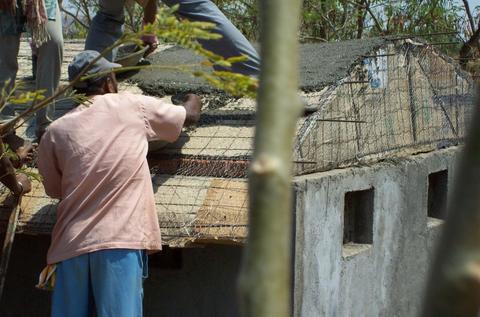
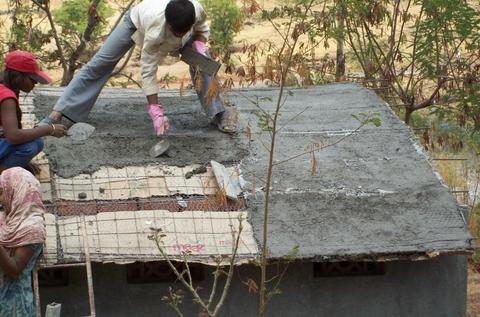
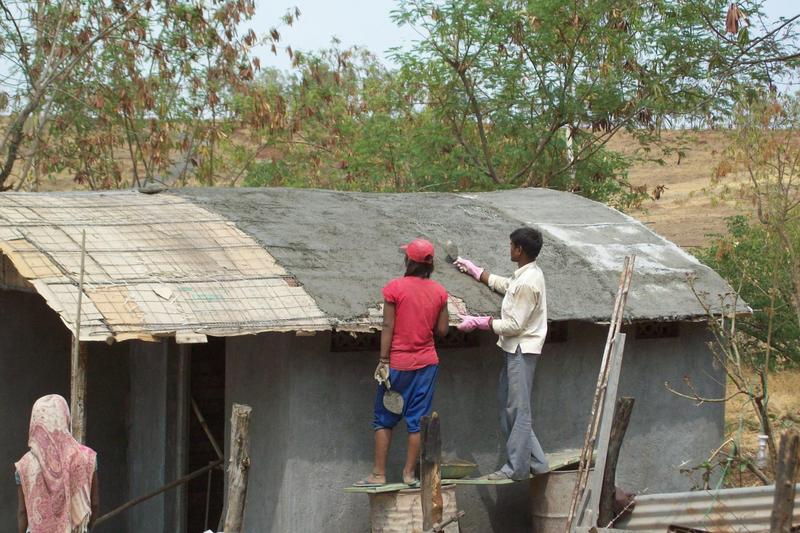
The ferro cementing mixture is being troweled on the top of the roof.
Hurray! It has begun!
The ferro cementing mixture is being troweled on the top of the roof.
 It is quickly spread.
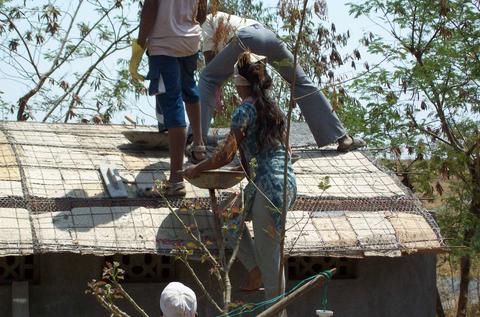 It needs a supply chain pushing the ferro cementing mixture.
 Laxman gives his guidance.
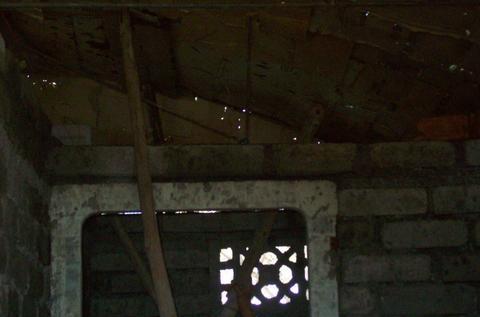
 As the moisture in the cement seeped into the cardboard below it, the cardboard lost its strength. It was propped up by poles below.
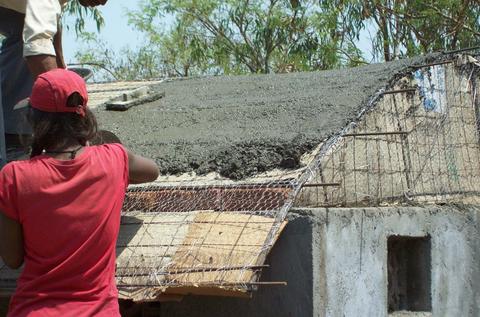
 The two adjacent layers will bind together despite the time lapse in laying them. The ferro cement layers on the other side of the roof.
Work had reached this stage when I came away from Vigyan Ashram.
Once the whole roof has been covered with ferro cement, there would be a second coat to make sure that there were no punctures / holes in the roof. The buckling in the center induced by weakening of cardboard would not cause any problem to the roof as ferro cement is a thin shell that retains its strength despite any curves/ dips in it.